Friday, June 26, 2015

Even More Ellagee

Polishes provided at a discount for review.

Now that I've gotten started collecting Ellagee, I just want more and more. Today I have one from my latest order, which were the first non-Disney themed colors I've gotten from this brand.

Some Gave All was created for Memorial Day. This has blue, red, silver, and holo glitter, including some star shapes and dense microglitter.


To see how this would work as a topper, I put down a base of Wet 'n' Wild Black Creme on most of my nails, leaving an accent nail bare so Some Gave All could show its stuff on its own. I did one coat of it over the black and three coats on its own, adding a clear topcoat to smooth out the (not too bumpy) glitter.


Here's the holo popping in low light:


Some Gave All Can be worn alone, but I like it better as a topper, which lets the stars show through better rather than getting somewhat obscured by the dense microglitter.

I got three other polishes in this order but right now am so busy wrapping up things at work that I just don't have as much time for blogging as I'd like. Soon I should be able to settle into a new routine.

The polish shown in this entry was provided provided at a discount for review purposes. The content of the entry was not dictated by the provider.


Wednesday, June 24, 2015

Wheel O8: White Cremes

One might think the 20 white cremes on wheel P2 would be sufficient to fill that slot in my stash, yet here I am with another full wheel. Some are true whites, some lean ivory, one is matte, one is satin finish. I could do classic French manis and pedis for a lifetime with these. For wheels like these, I think I need to look into switching out my lightbox background to something other than white.


1. The New Black unnamed mini (3 coats) [might be more at home on an ivory wheel]
2. Revlon white side of Nail Art Neon duos (2)
3. NYX White (2)
4. Ciate Paper Doll (3) [matte finish is quite nice on this]
5. Ciate Snow Virgin (2)
6. Nicole by OPI unnamed mini (3)
7. Urban Nails unnamed (3)
8. Milani High Speed Fast Dry White on the Spot (2)
9. Pure Ice Magic Base Coat (2)
10. Wet 'n' Wild Wild Shine A Blank Canvas (2)
11. L'Oreal A La Meringue (2)
12. Butter London Cotton Buds (2)
13. Studio M French Tip (2)
14. L'Oreal Steel Colour French Tip White (3)
15. OPI Angel With a Leadfoot (2)
16. Sally Hansen Insta Dri White Pick It Fence (2) [supposedly matte finish but dried satin, nowhere near as matte as #4]
17. Sally Hansen Insta Dri OMGhost (2)
18. Sinful Shine Wisp (2)
19. L'Oreal French Manicure French Tip White (3) [quite a bit thinner than I like to use for white tips, and the color is not quite white, though that may be due to age]
20. Cult Nails Tempest (2)


Bottles 1 through 5:


6 through 10:


11 through 15:


16 through 20:


Destash notes: The matte (4) stays for sure because it stands out in this sea of similarity. As for the others, I guess I'll decide based on bottle and brush shapes.

Monday, June 22, 2015

Recent NOTDs: Grey and More Grey Plus Glitter

I've had more time in recent weeks to change my polish during the week, which means the nails of the day photos are really piling up on my hard drive. I've got two more looks today, both with a grey plus glitter theme.

My first grey NOTD had accents of blue, green, and white glitter.


This look started with a base of Duri Rejuvacote followed by Butter London Nail Foundation. Three coats of Contrary Polish Be Merry, which I recently picked up from a blog sale, went on next. It's a grey jelly with green, pinkish red, and silver holo microglitter.


My accent nails got Nicole by OPI Seriously Citrus added to them. This is a glitter topper inspired by Sprite from the NOPI Coke collection. It's a mix of sizes of white, blue, and various green glitters in a clear base.


Diamond Dry topcoat finished off the look. I got a tiny bit of tip shrinkage on some nails; I guess maybe DD didn't entirely agree with the Contrary. Despite that, I was happy with this mani.


My second grey look started with the same Rejuvacote/Nail Foundation base, which I then followed with two coats (maybe could have done one) of Hot Ticket Don't Metal in my Business, a charcoal grey shimmer. Then all nails got one coat of Essence Nail Art Twins in Julia before the Diamond Dry topcoat went on. Then, I did that thing where you think a mani is dry so you start using your hands normally again, only to find it wasn't quite dry so you manage to wrinkle the layers by brushing your hand against something. I decided the glitter would provide sufficient distraction from the wrinkles and let them be.


The star of this look is Julia, which has the intensely colorful silver holo glitter in squares and hexes in a clear base. I bought this bottle from a blog sale even though I already had one I'd swapped to get years ago; it's just so pretty.


Counting these two manis, I've done three with Butter London Nail Foundation that all chipped within a couple days, which is way earlier than I generally get chips when I use Instant Artificials for my base over treatment. Since this happened with three different brands of polish and all other elements were ones I know work for me, I think I need to conclude that Nail Foundation and my body chemistry don't get along. I can still use it for swatching, though that seems like quite an uneconomical use of such an expensive product. Ah well, if I doesn't work for me, it doesn't work.

Friday, June 19, 2015

Recent NOTD: White Mani Fail, Pahlish Win

One of my polish-loving imaginary friends on the internet posted on a board we're members of that she'd been seeing a lot of white nails around. When it came time to do my own mani, I remembered that and thought "yeah, white nails would be fresh". Then I thought, "And also boring". So I reached for one of the colors I'd bought from Pahlish recently, Painting the Roses Red, a white-based crelly with glitter, flakes, and shimmer added. Not big glitter, though, so I thought it was pretty close to plain white, all things considered.


I laid down some Qtica Nail Growth Stimulator first, then some Butter London Nail Foundation. My base layers in place, I did three coats of Painting the Roses Red (two might have worked fine, but with light bases I like to have that extra margin of error). I immediately decided that while the color was lovely, I needed more oopmh in my mani, so grabbed Jabberwocky, a glitter topper that comes with the purchase of the full set of the Through the Looking Glass collection (all have the same fun label seen above). Now, I think Jabberwocky would have been better served showcased over a different base, but the neon yellow glitters in it did give me that spark I was looking for. Accent nails thus accented, I finished with Diamond Dry topcoat.


Here's a closer look at Jabberwocky; those flower glitters did need a bit of coaxing but nothing too crazy.


I can't visit the Pahlish site too often because she does a lot of very limited editions that I always seem to want all of. If I can wait just a bit, they'll sell out and it's out of my hands. Of course then I do click over and buy a whole collection at a time, so it just might be hopeless. Ah well, there are way worse things I could be buying with my fun money.

Thursday, June 18, 2015

Sally Hansen Pearl Crush Swatches

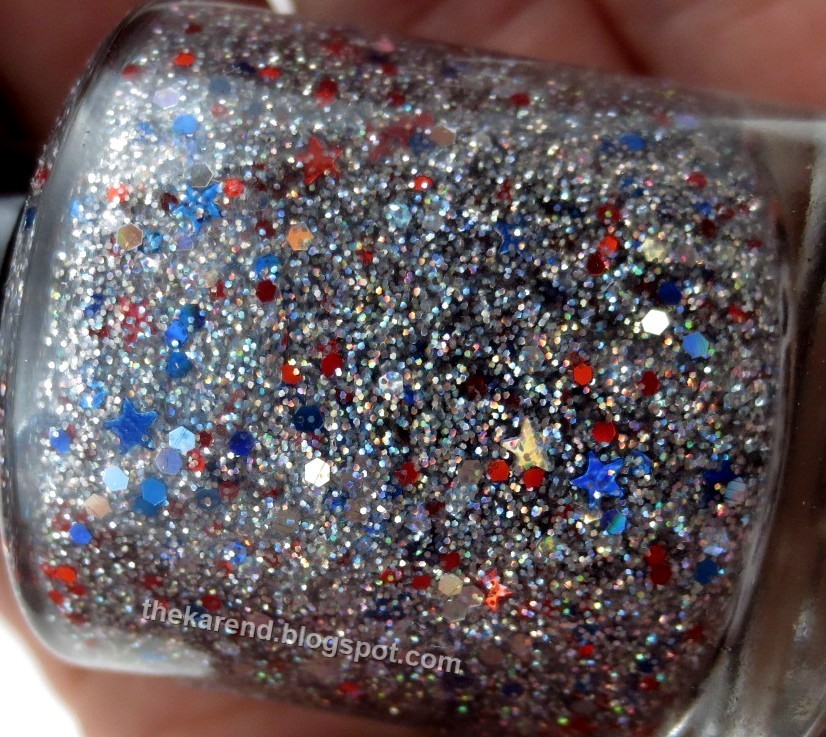
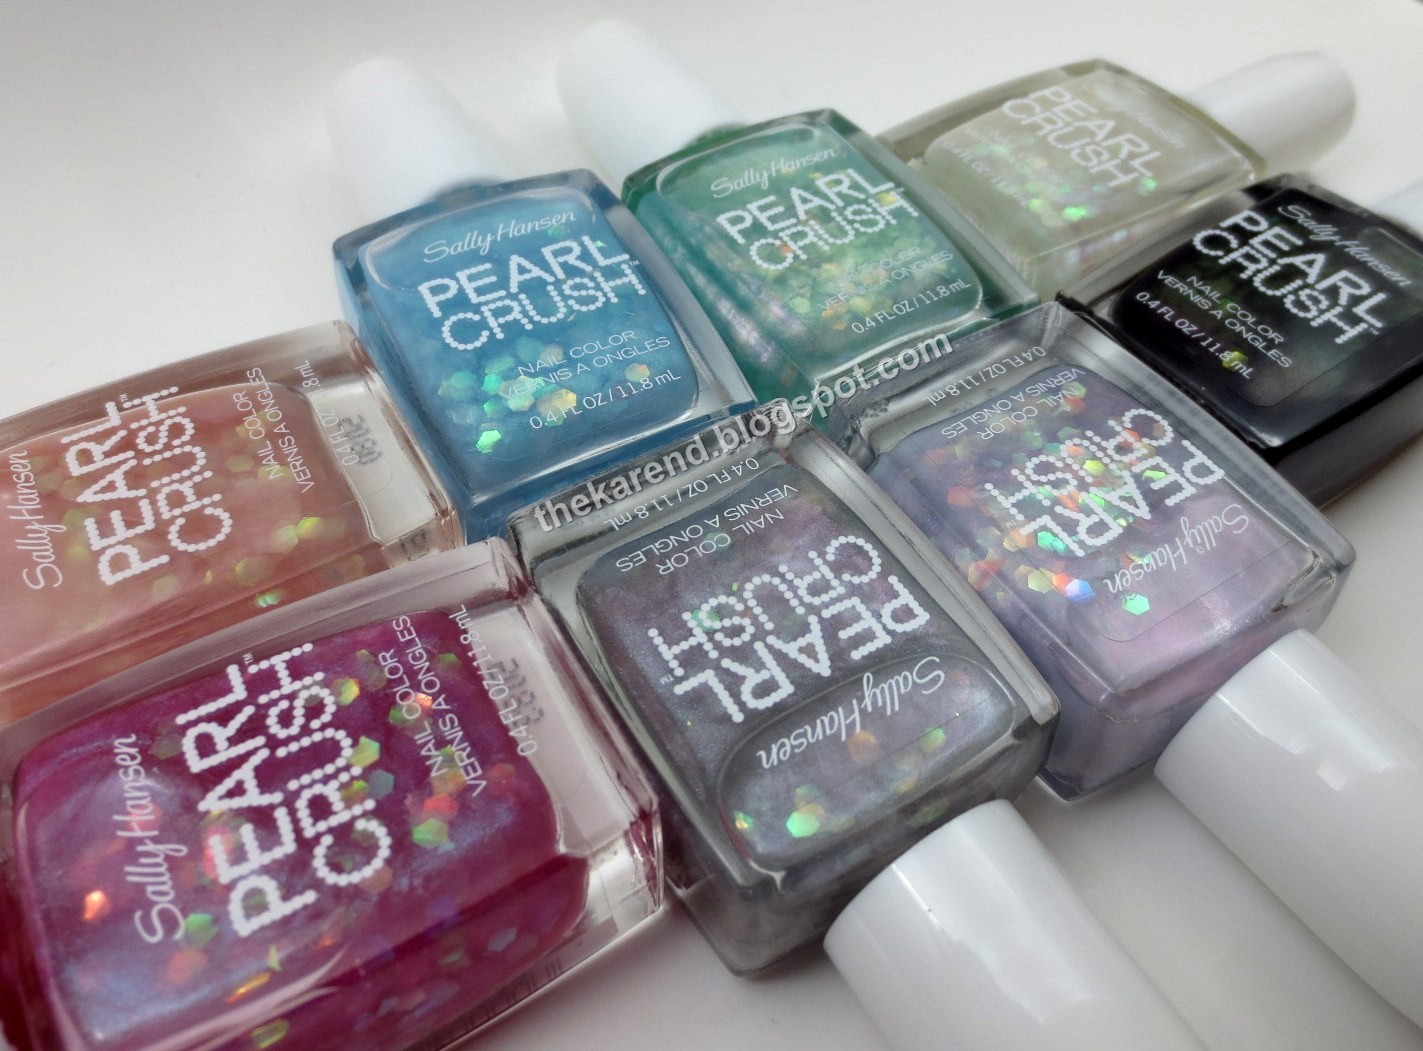
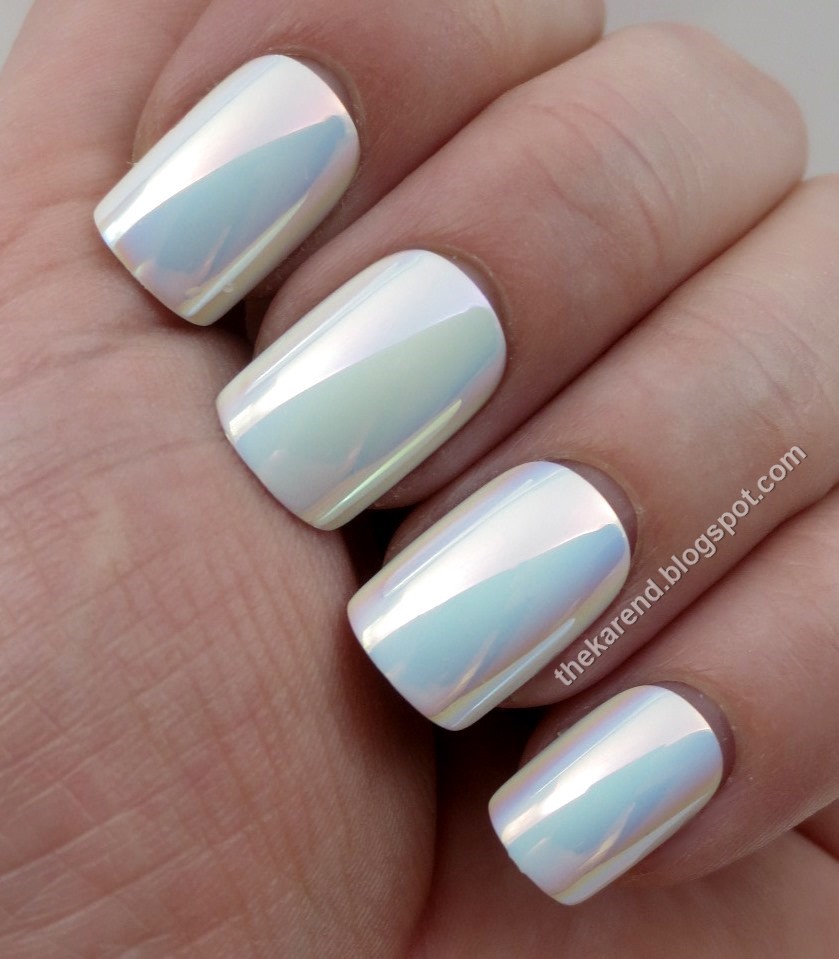
One of the new things out this summer from Sally Hansen is the Pearl Crush Special Effects line. These are eight colors of shimmery bases with large iridescent glitter pieces. They're very pretty in the bottle, for sure.


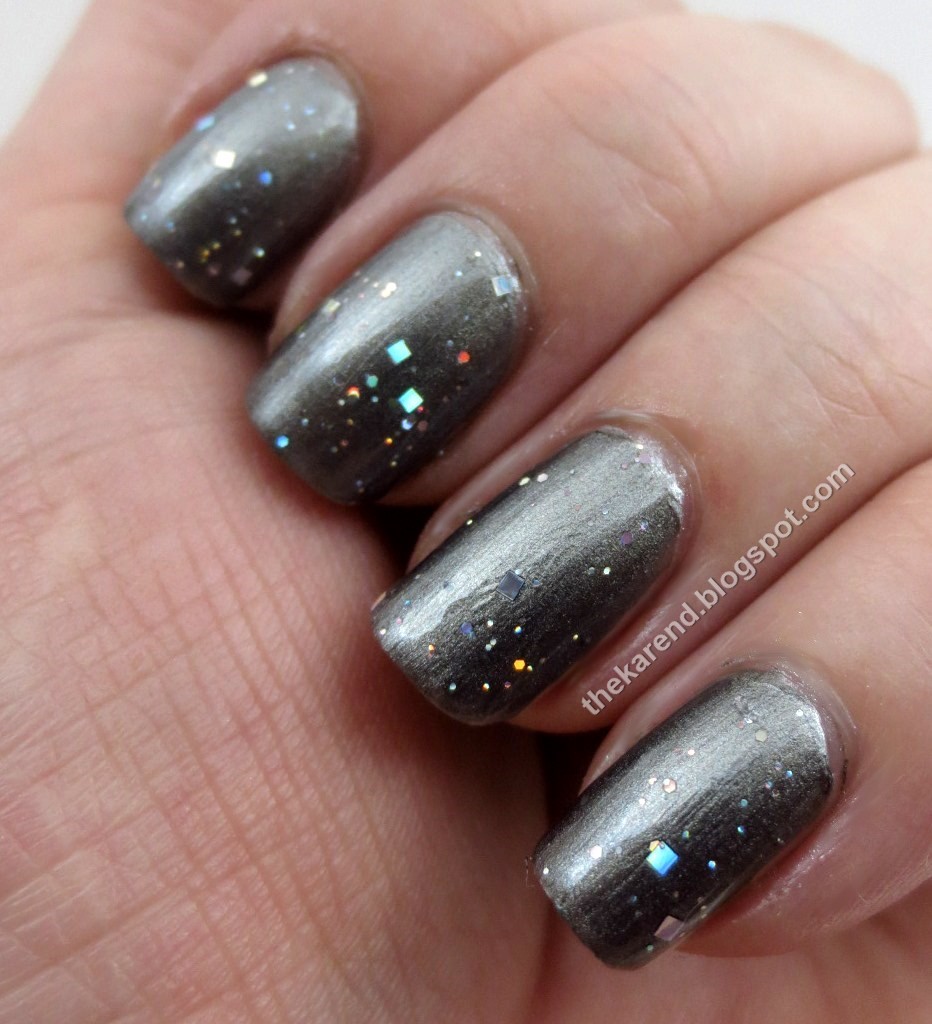
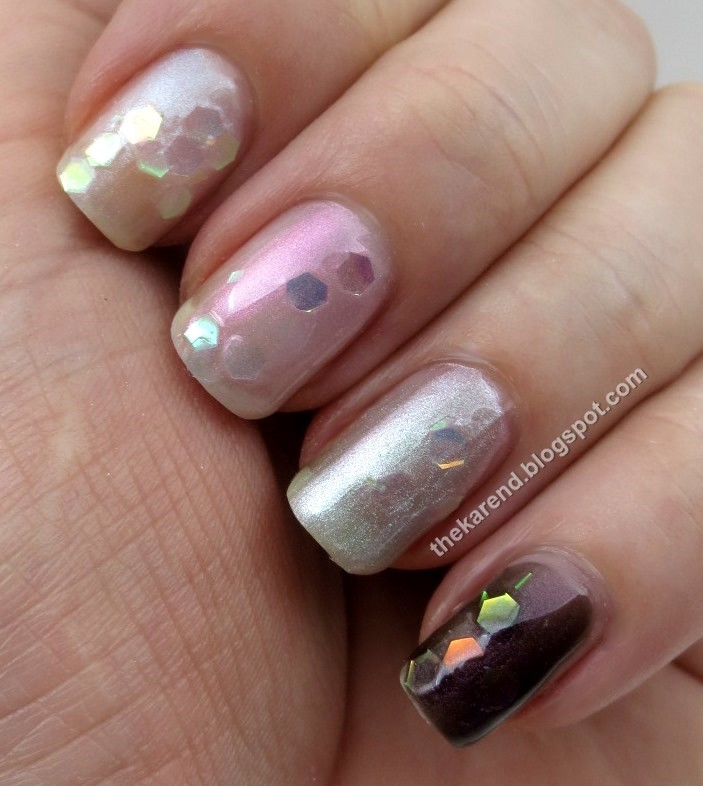
Eight colors; you know what that means—Skittles swatches. The first set started with Oy-ster It Up, a white shimmer, on my index finger. The lilac Shell & Tell went on my middle. Silver Scallop (silver) adorned my ring finger and Clam Digger (black) my pinky. I used three coats plus topcoat. The glitter in these is quite eye catching; small changes in angle mean big changes in how the light reflects off of it. The shimmer bases are pretty interesting, too; some really look like the inside of seasheels and some have subtle duochrome shifts.


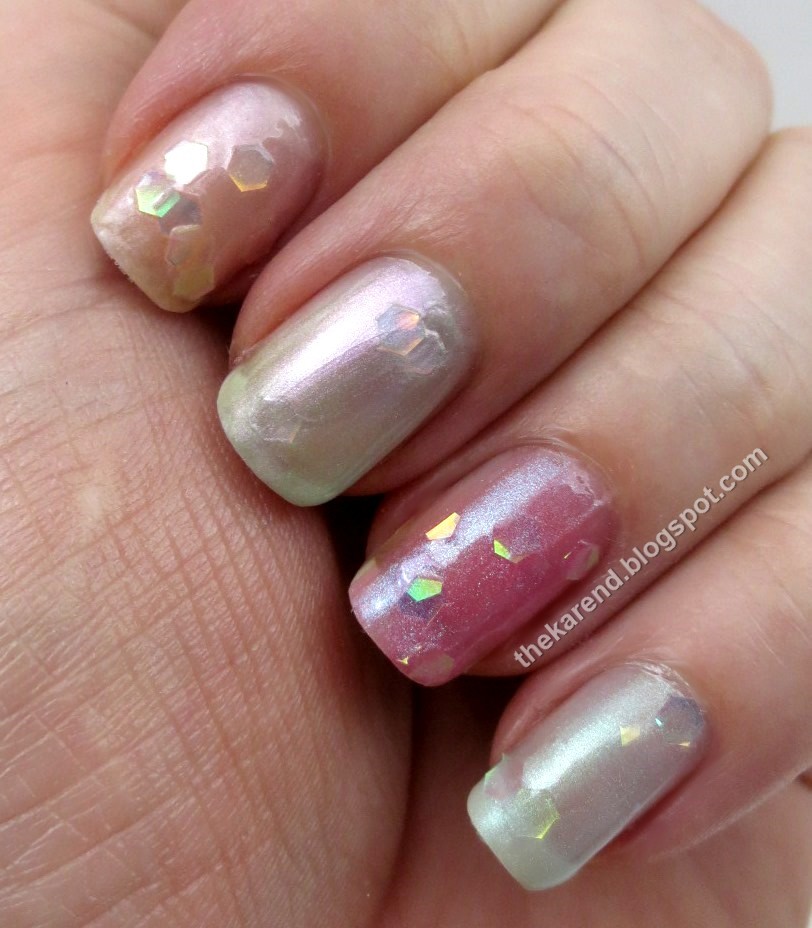
With glitter pieces as big as these are, I wasn't surprised that it wasn't super easy to get them onto the nail. The instructions on the bottle pretty much acknowledge the issue by saying that the coats need to be dabbed on, rather than just applied as per usual. Dabbing does work better to get the glitter on the nail, true. The problem is it also tends to create small piles of shimmer rather than distributing it evenly, and I don't especially like that effect. It's most noticeable above on my ring finger.


The second set, top to bottom: She Sells (peach), Mer-mint (green), Lady Crab (pink), Rainbow Fish (blue). Again, three coats plus topcoat. Mer-mint wasn't as green on the nail as I'd expected.


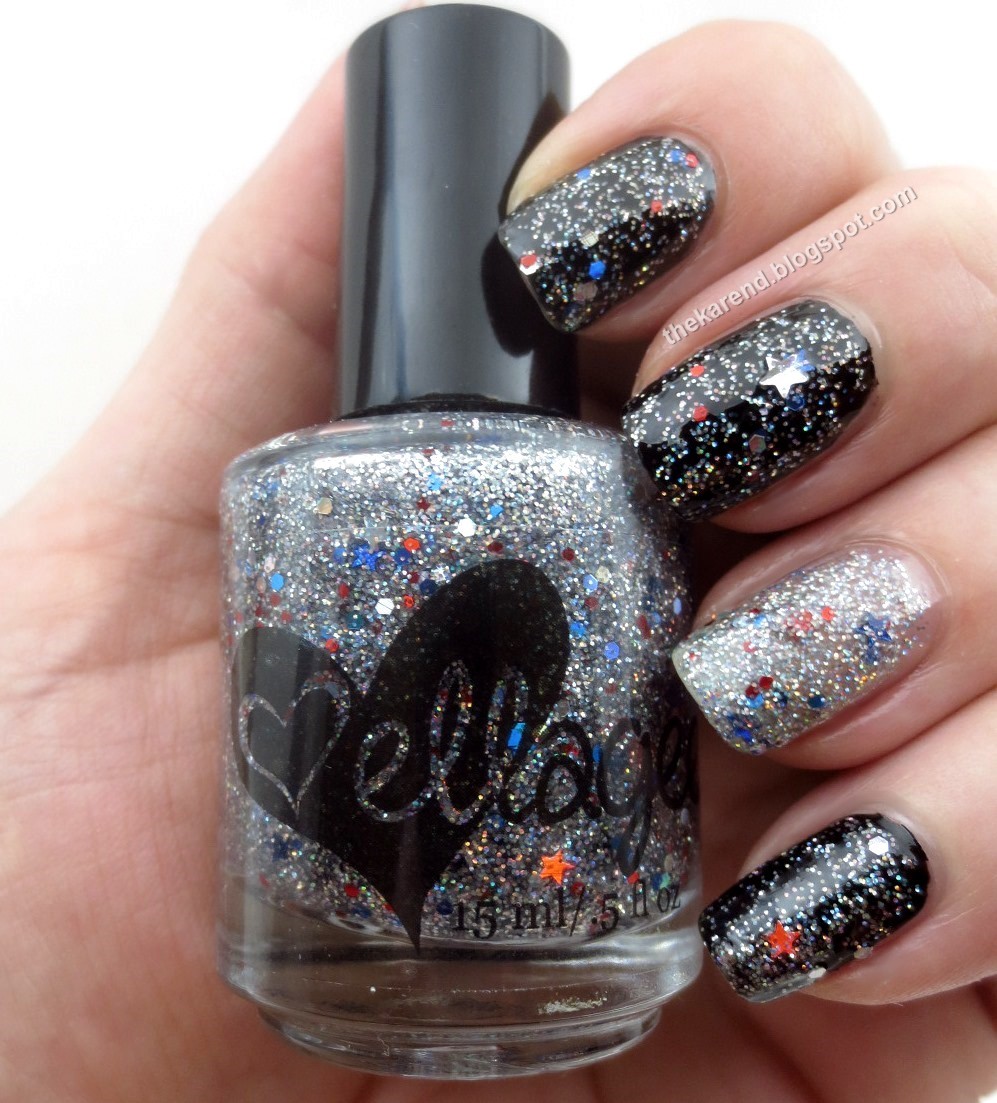
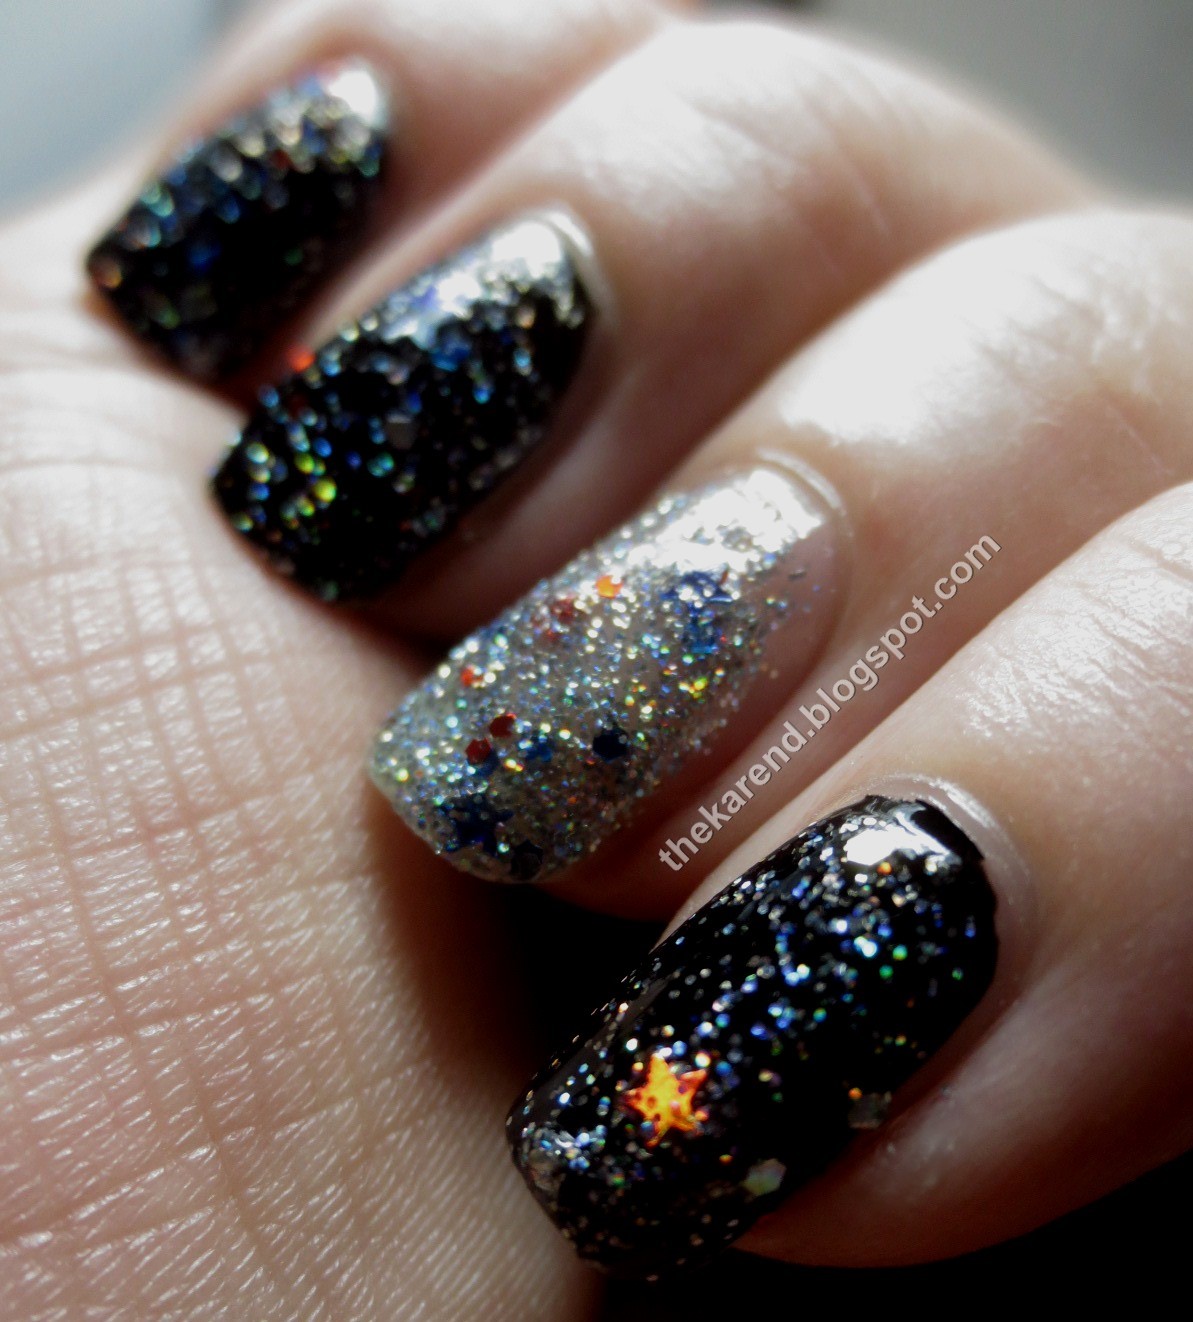
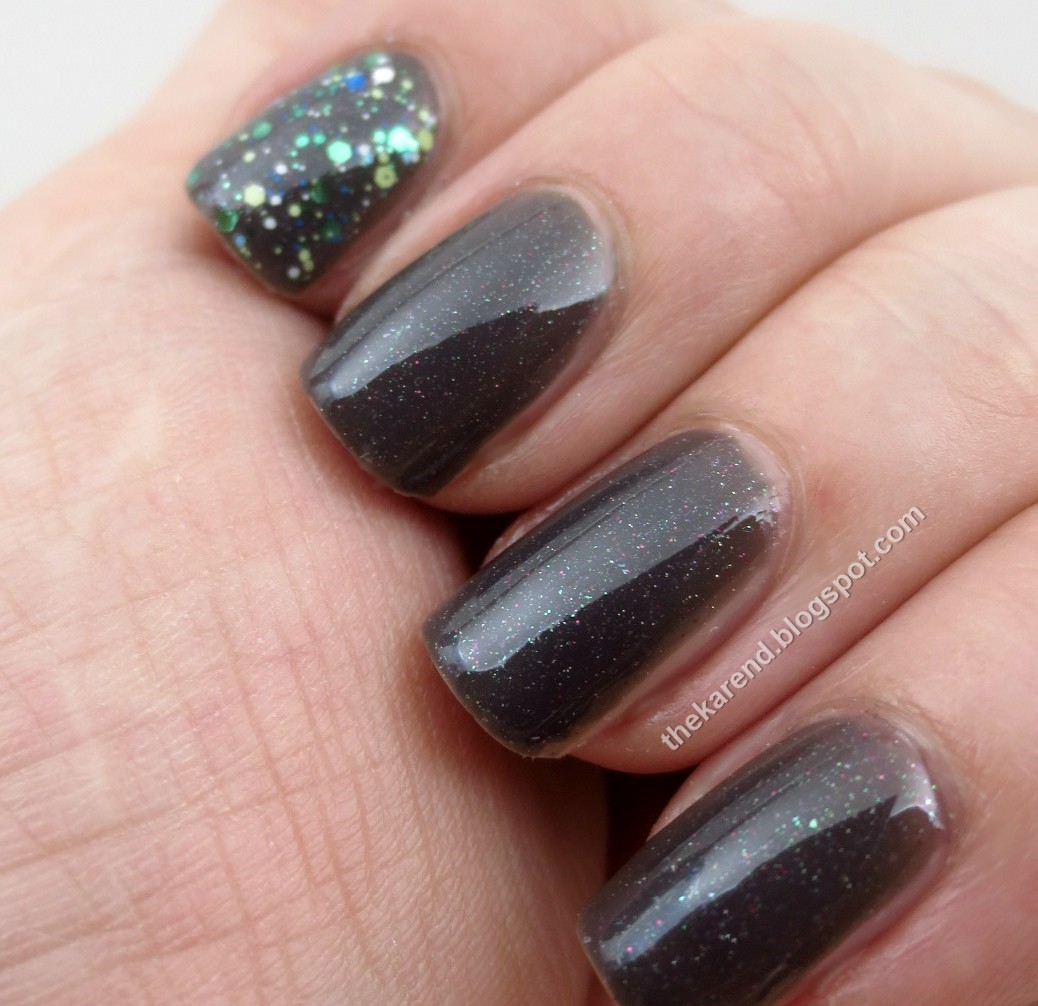
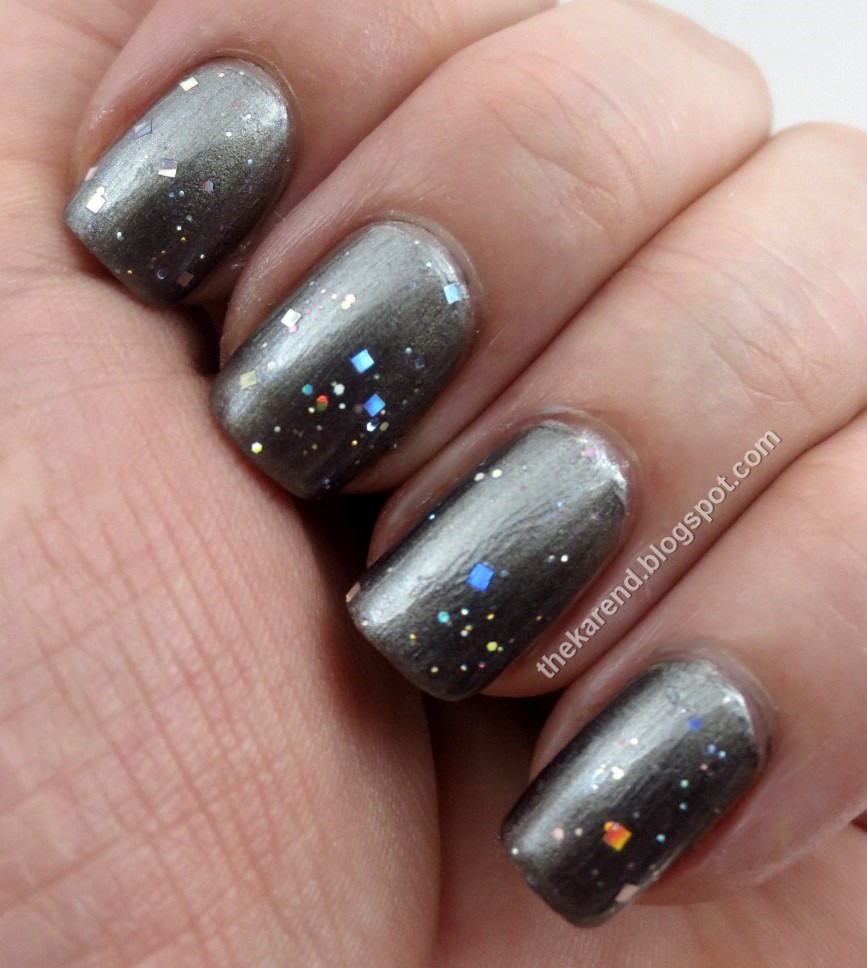
The shimmery bases looked like they might take well to being layered over black, so I tried that next. Here's the first quartet, one coat plus topcaoat over Wet 'n' Wild Black Creme: Oy-ster It Up, Shell & Tell, Silver Scallop, and Clam Digger. this was interesting; the white turned blue, the lilac turned pink, the silver turned blue AND pink, and the black pretty much stayed black with very dark plum tendencies. Also, the glitter popped out more visually.


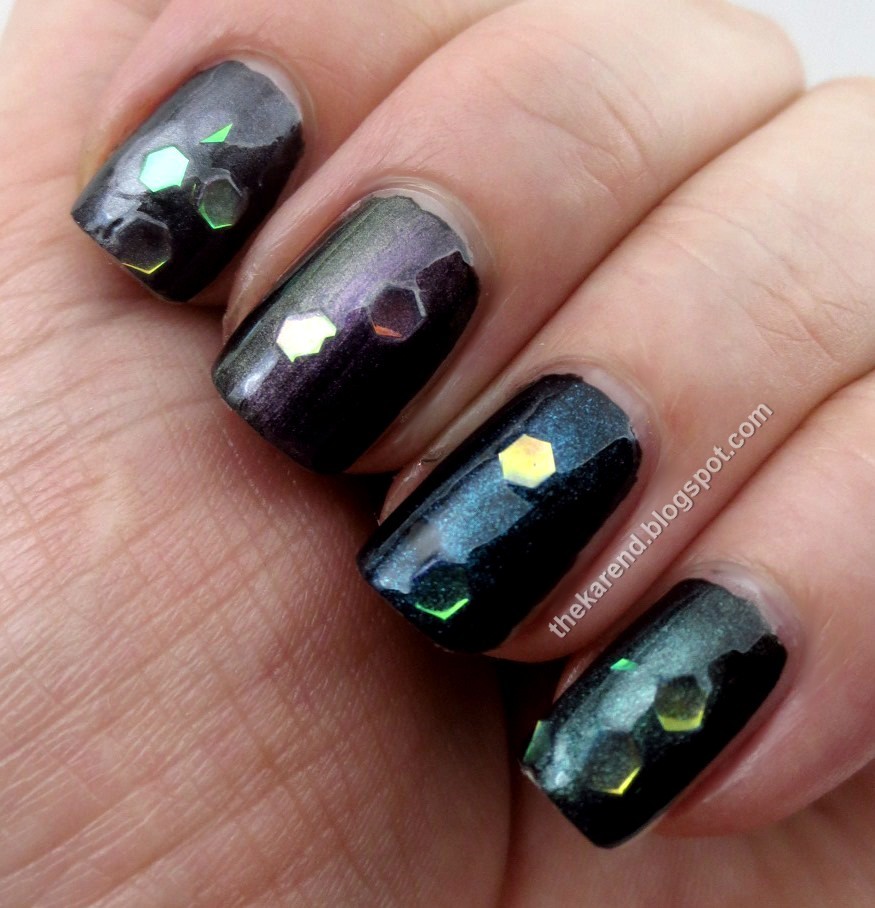
Here's the second set; top to bottom—She Sells, Mer-mint, Lady Crab, and Rainbow Fish. The peach sort of faded into grey, the green made a green/pink duochrome, the pink turned blue, and the blue turned green. The "shimmer dabbing" issue was more of a problem over black; you may be able to see the mottled effect on my index finger from over enthusiatic dabbing.


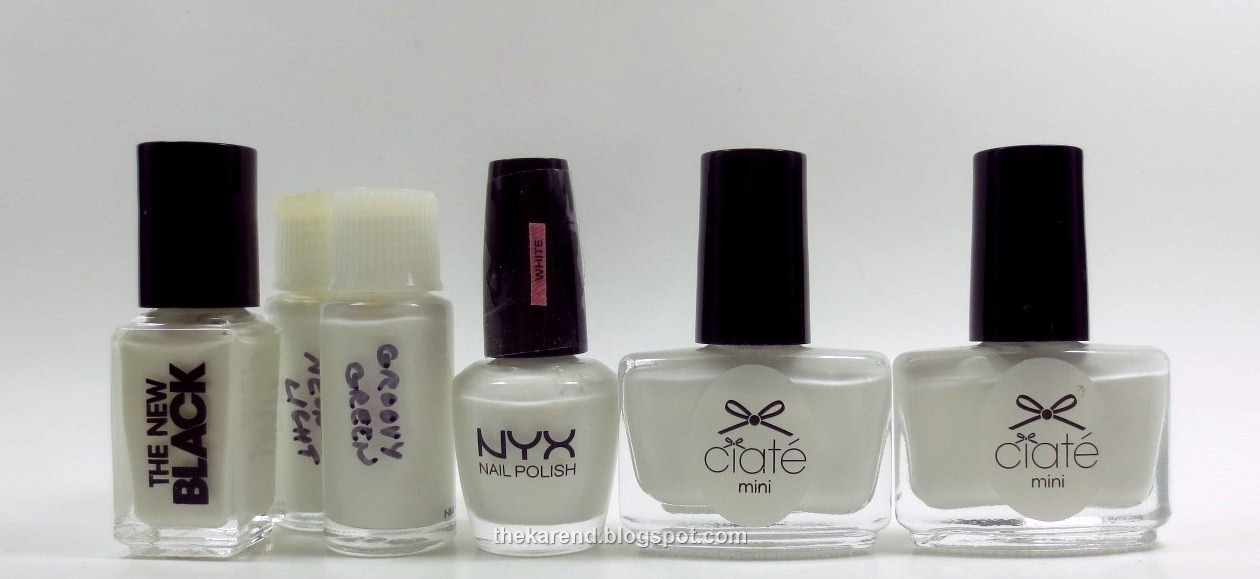
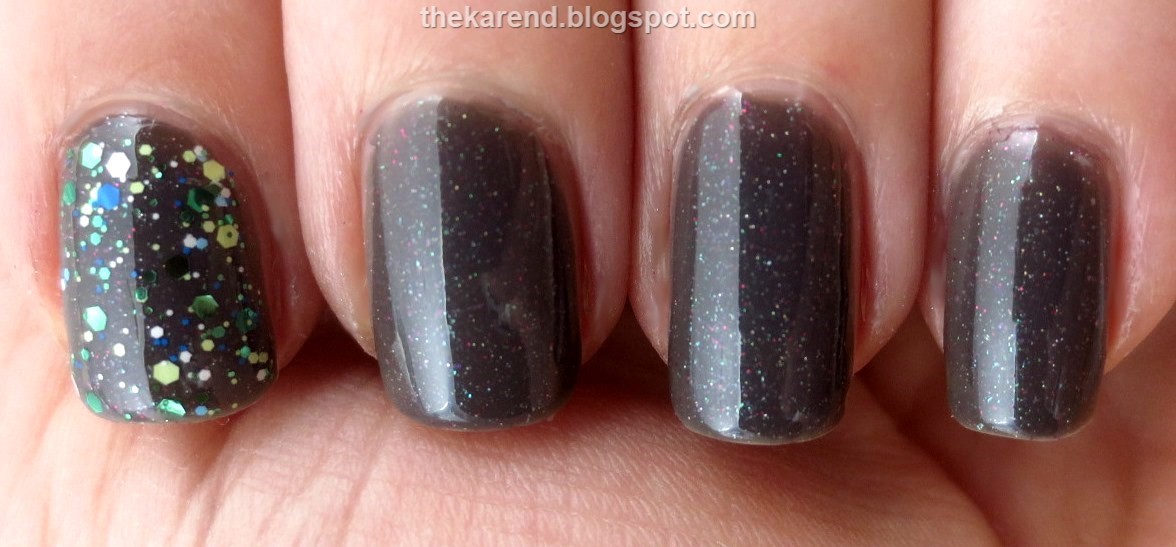
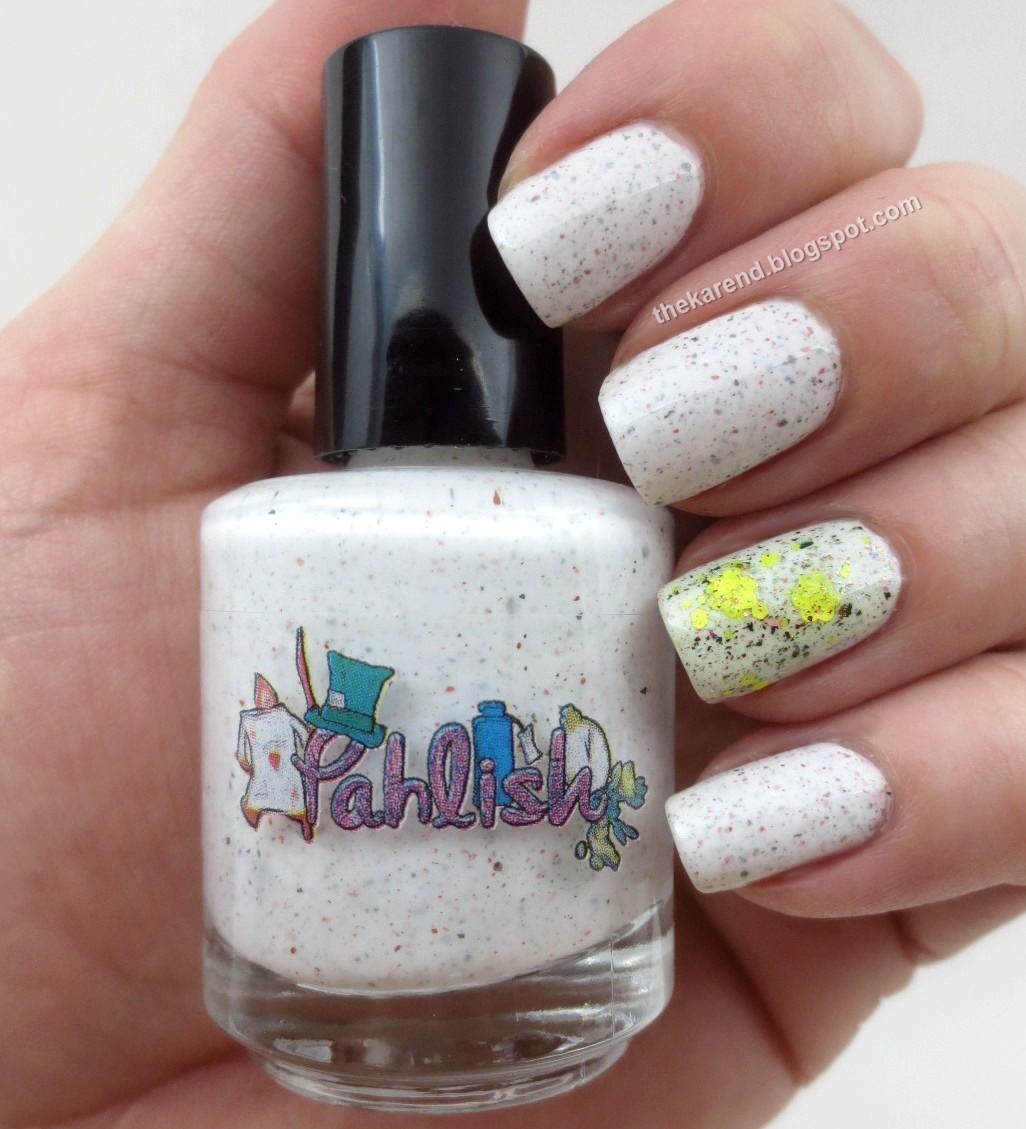
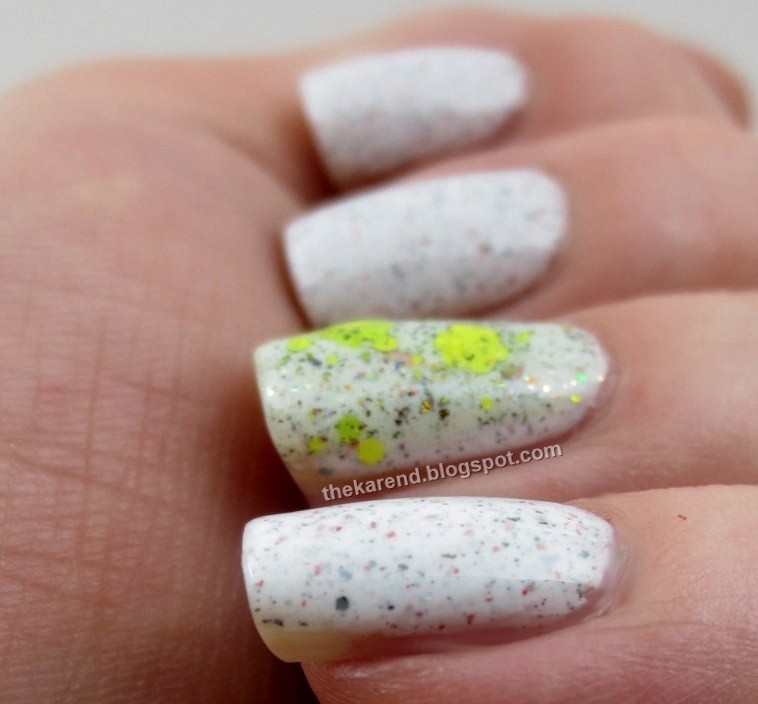
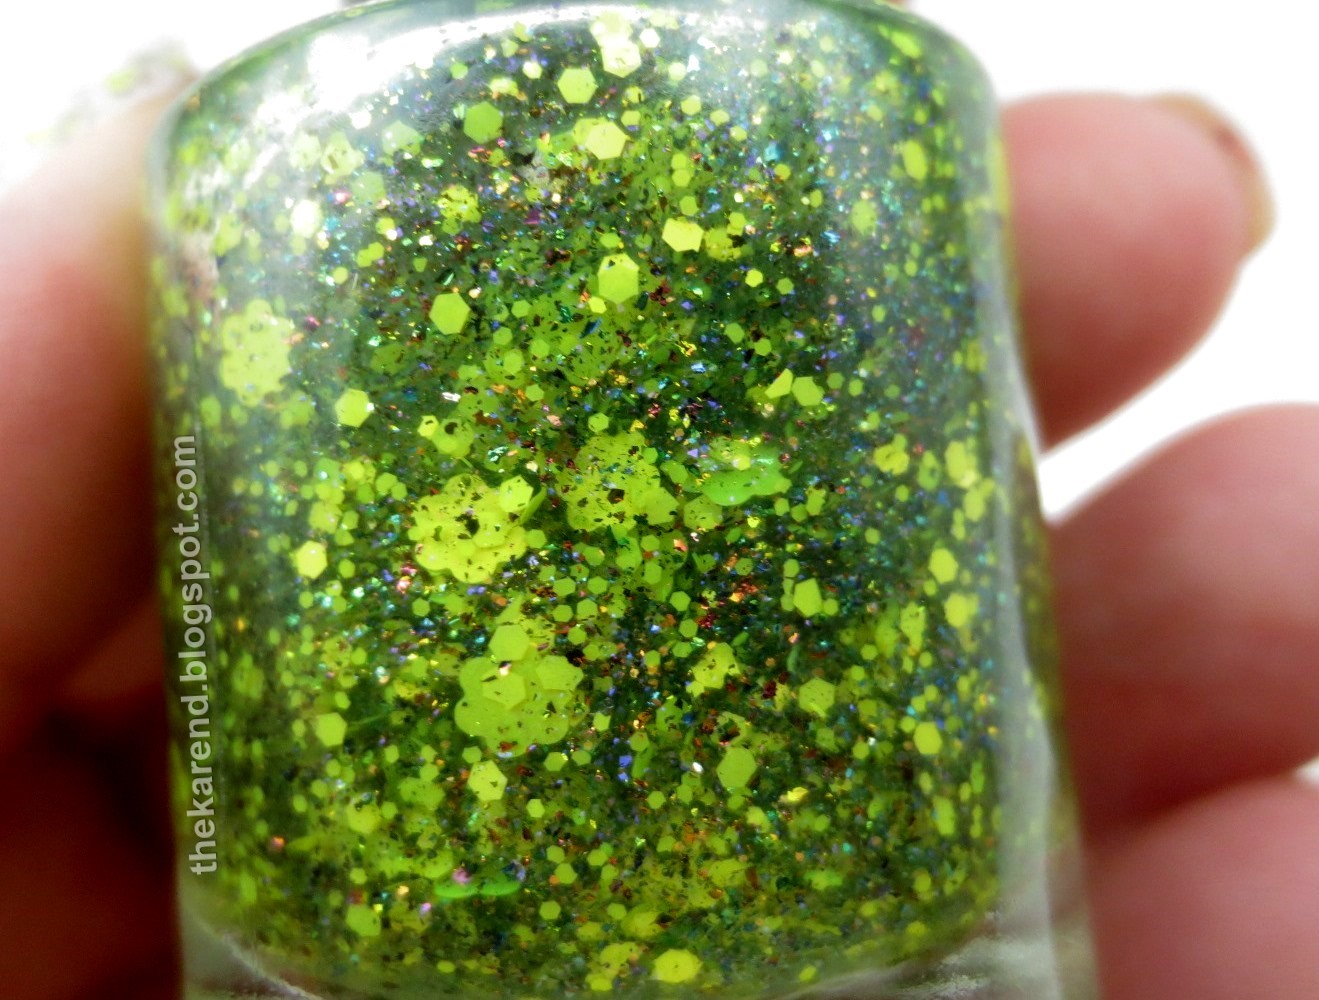
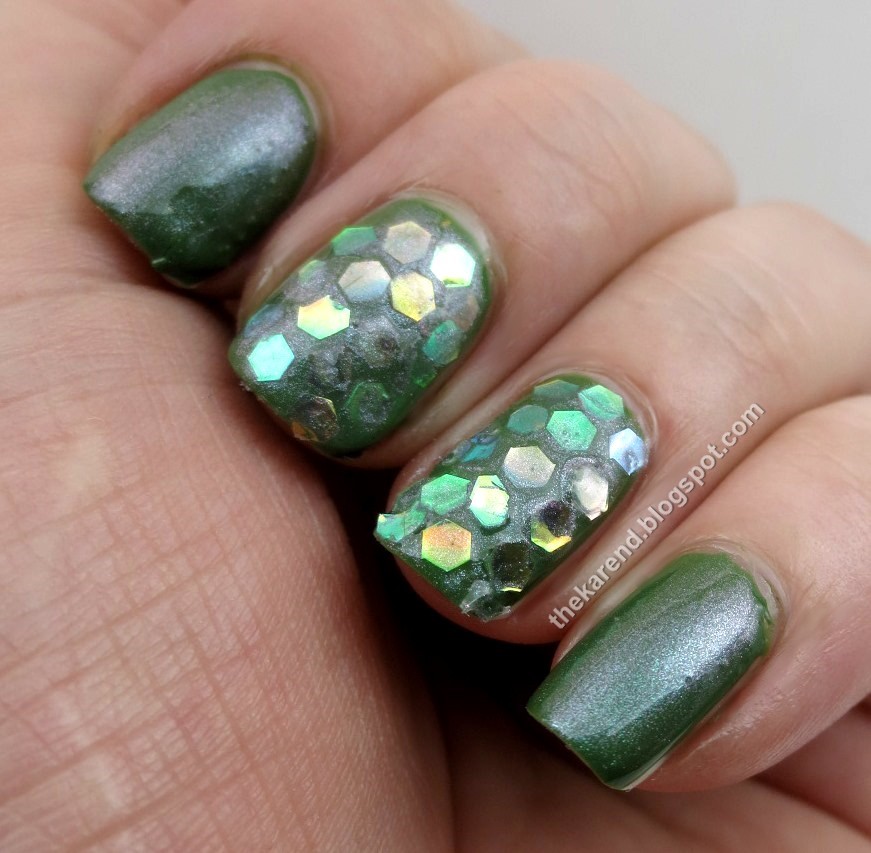
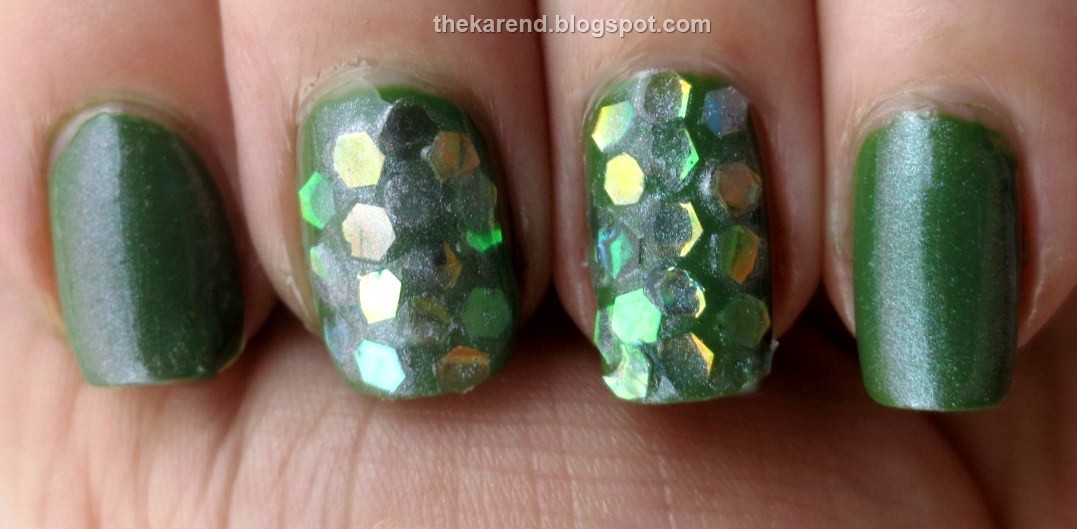
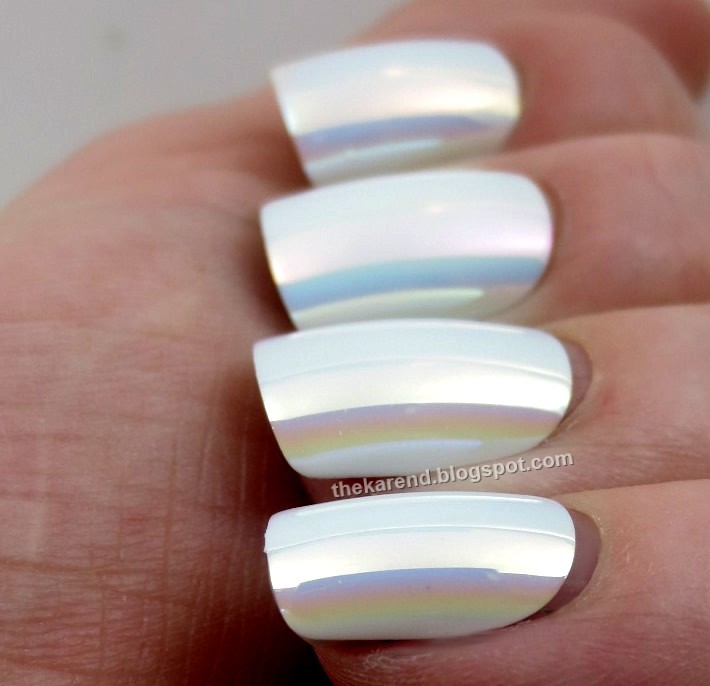
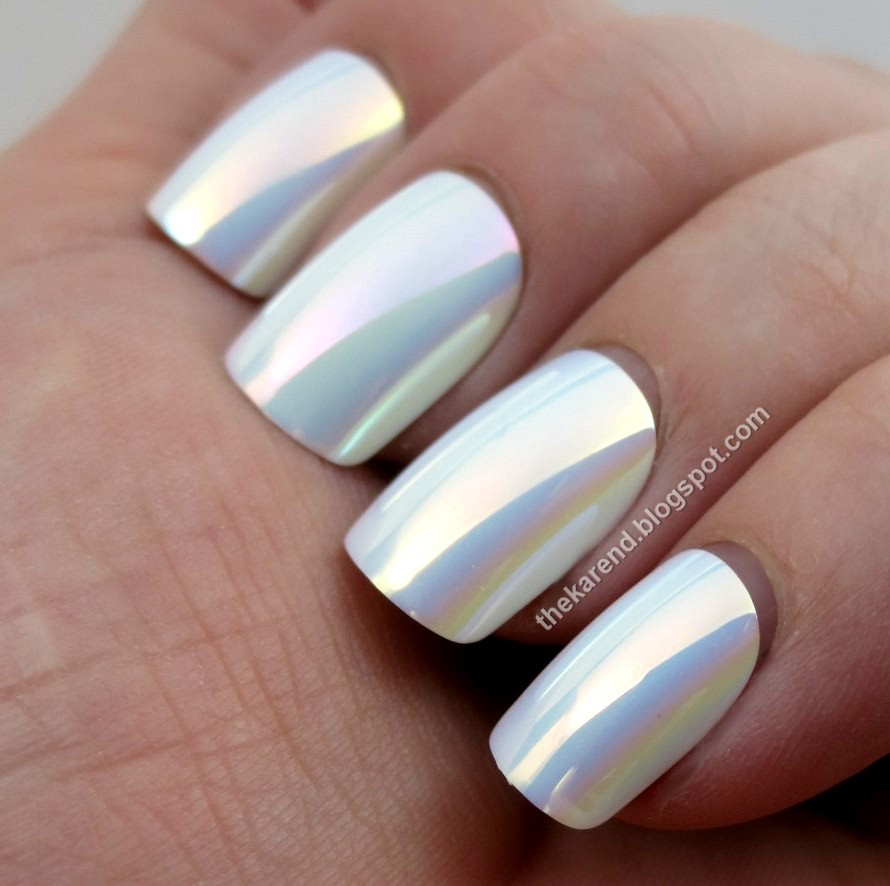
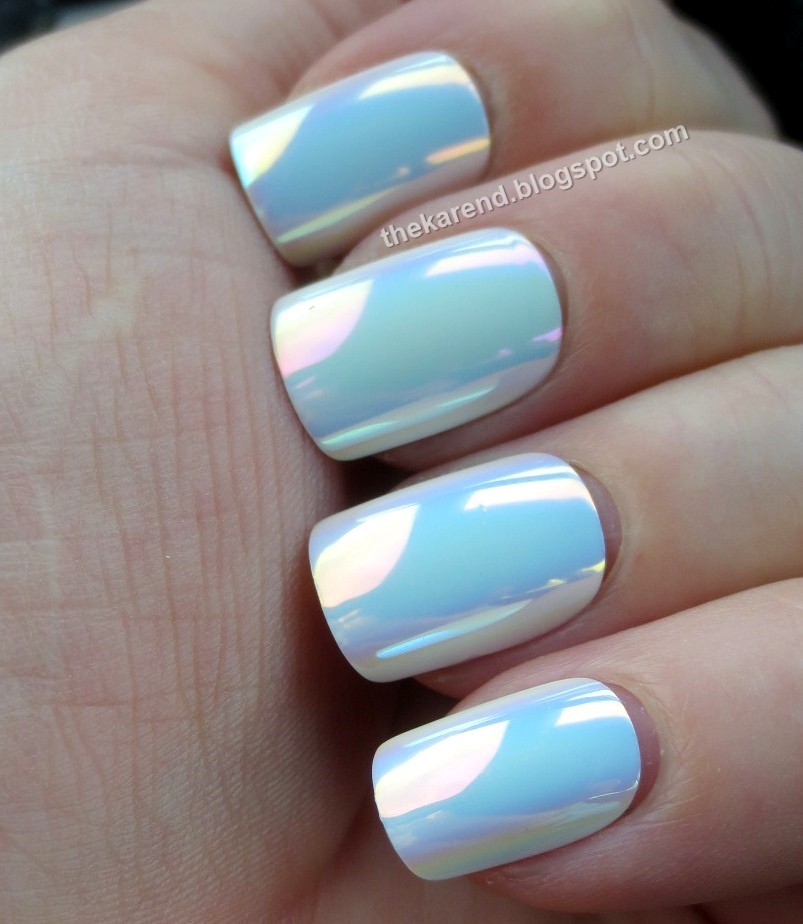
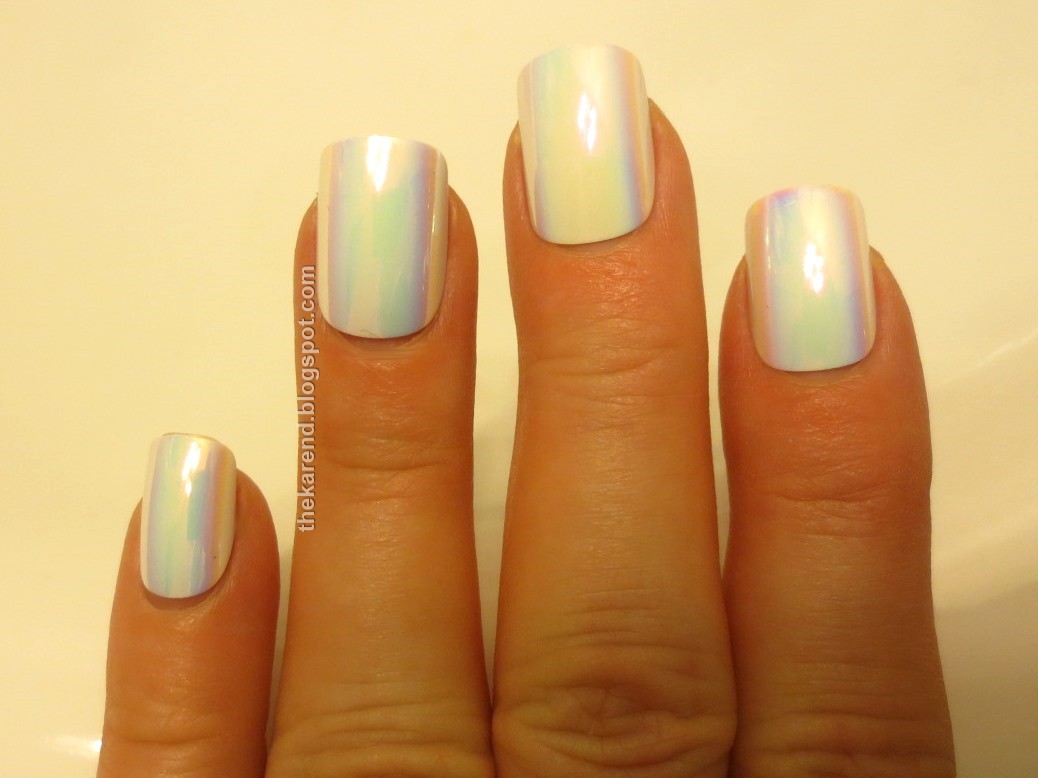
I thought these were pretty. I also thought they were a bit fiddly to work with. On balance, I was more attracted by the pretty than put off by the fiddly, so I decided to do one more look with them, amping up the fiddly even. I did a base coat of Sally Hansen Xtreme Wear Green Thumb, a yellow green creme that's one of the new shades released recently. The formula on this was a little runny. I topped the green with Silver Scallop, wiping off the glitter from the brush so I'd just get the shimmer. Over the green, the shimmer looked more pink/silver than pink/blue like it had over the black. Then, on two nails, I placed glitter pieces close to each other to cover the nail as best I could (picking the pieces up with a dotting tool one by one), then added topcoat. Depending on the angle of the light, the individual glitter pieces changed colors and winked in and out of visibility, which was fun to look at. Because the glitter is transluscent as well as iridescent, it was somewhat hard to see when picking it out of the pool of polish, so in some cases I got two pieces stuck together. I'm choosing to look at that as a feature, giving added depth to the look. This glitter is very thin, so even where there were two stacked on each other, the surface didn't feel bumpy once the topcoat was on.


These Pearl Crush are a bit challenging to work with, but in my opinion they're worth the effort. I'm not going to pull one of them out to do a mani unless I have more time than usual, but I am keeping them around. I sort of wish the shimmer bases and gliltter were sold separately, as I'd wear most of the shimmers on their own, too, and love them for layering. So, think of these as the friend that sometimes annoys the heck out of you but that you keep in your life because they have so many other good qualities.

Wednesday, June 17, 2015

Wheel Q8: Magnetics from Nabi and Barry M

Today I've got the rest of my Nabi magnetics that didn't fit on last week's wheel, plus a quartet from Barry M.


(all are two coats; usual caveat about the awkwardness of using the magnets on tips that are not on movable fingers applies)

1. Nabi Lavanda II
2. Nabi Cloud
3. Nabi Baby Green
4. Nabi Mystique
5. Nabi Sky Blue
6. Nabi Ocean Blue
7. Nabi Silver [I like the sparkle in this one]
8. Nabi Black
9. Nabi Lime
10. Nabi Dark Gold [my favorite on this wheel, and I don't even like gold usually]
11. Nabi Khaki
12. Nabi Candid [probably my second favorite; I like the cool/warm contrast the magnet makes]
13. Nabi Green
14. Nabi Dark Green [almost wonder if I got a mislabelled bottle here, as doesn't seem much different than 13; the lines brought out by the magnet are a little lighter in this is all I see to distinguish it]
15. Nabi Teal [I'd call this dark green, not teal, but it's lovely regardless of the name]
16. Nabi Navy Blue
17. Barry M Burgundy
18. Barry M Violet
19. Barry M Blue
20. Barry M Dark Silver

Bottles 1 through 5:


6 through 10:


11 through 16:


17 through 20:


Destash notes: Just looking at this wheel alone, I don't see a lot of room to get rid of things. Maybe 11 and 14 could go. I'll need to stack these up against other brands' magnetics to really get a good overview of where I have excess.

Tuesday, June 16, 2015

Recent NOTD, Fakes Edition

The quick strip nails of the day looks I shared yesterday were interspersed with a couple of even quicker fake nail ones. (They're quicker because there's no smoothing needd or filing off of the excess strip material.) Since I'd liked wearing the Ministry of Beauty Ultra-Reflect artificials before, I turned to that brand again.

First I tried a set from the Dramatica collection; the box said they were "short & very glamourous" (The only other time I've seen MOB Dramatica nails in a retail store, they were all long and some were pointy; see this display post from 2013.) This particular design had a mix of motifs rendered in dusty peach and black with gold, pearl, and iridescent microglitter accents.I had the same issue with these as the earlier set, in that the base curve of the nails didn't match my own, which left crescent shaped gaps, and since these were shorter than the others, I also had to place some less close to the base in order to cover my natural tips. it was a little frustrating that I couldn't mix up the motifs the way I would if I were painting this mani, as I had to put nails where they were a reasonable fit. My left hand had two dots and two glittery half moons with a metal and pearl charm accent.


I failed to notice that there weren't more just dotted nails in the right sizes, so my right hand has four glittery half moons with a pearl and stone accent. I wish I'd planned ahead better.


I wore these for a full work week. When I took them off, they were mostly in pretty good shape; the charms had stayed on tight (and I didn't really notice them catching on my clothes or hair as much as I'd feared, either). Some nails did have some scratches where the peach part had scraped off to reveal the transluscent plastic beneath.


The other set I wore was from the Ultra-Reflect line, this time a pearly white with a multi-pastel multichrome effect. I had the same fit issues at the base, but these were longer so that helped with the tips. I think in some cases I picked a size too large for the best fit, but the finish was so shiny and distracting it wasn't that obvious if I wasn't looked specifically for that. Inside they glowed mostly golden and pink.


Outside they sometimes looked blue; maybe they were reflecting the sky.


Still looking good in my bathroom after three days wear:


As with the other Ultra-Reflect nails, these white ones got a lot of attention and compliments. I'm sorry to say the whole display has disappeared from Meijer; seems like they didn't really give people much of a chance to try them before they marked them down and move to the clearance shelves.